


Product added to cart
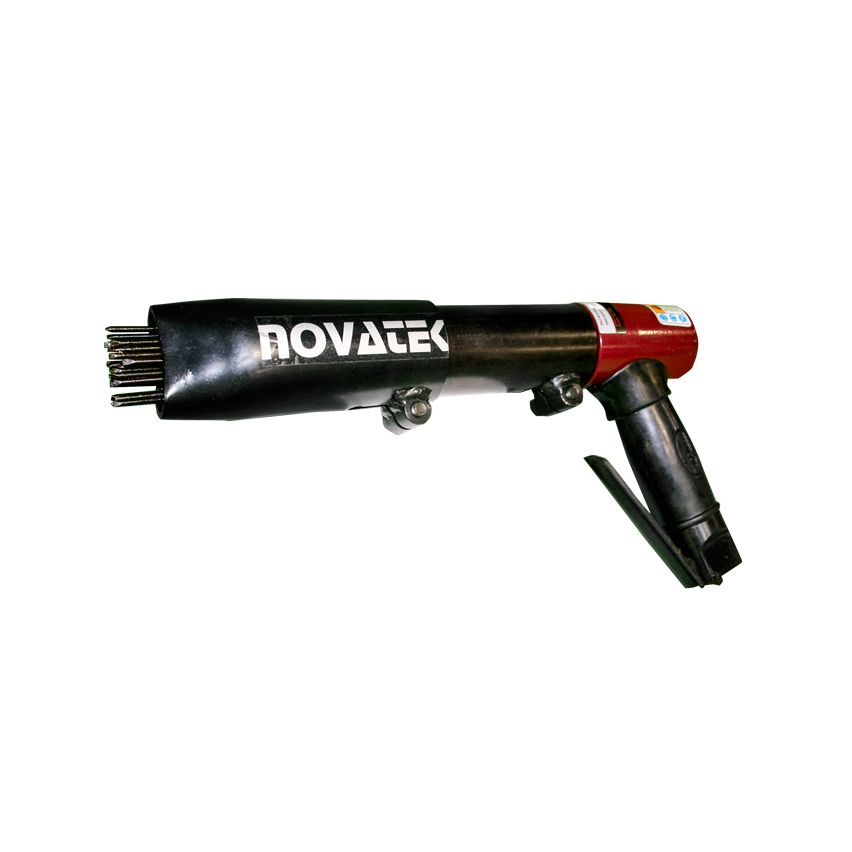
Novatek 3B/Pistol Grip Non-Shrouded Needle Scaler
$378.00
In stock
SKU
TT0007-3BPGN
The Novatek 28NS120 -Needle Scaler provides a thorough and effective method of removing coatings, corrosion and other accumulated materials.
The 28 Pistol Grip Scalers provide a thorough and effective method of removing coatings, corrosion and other accumulated materials. These scalers will work on almost any surface, especially irregular surfaces that are otherwise hard to prepare.
Features & Benefits
- Our most powerful pistol grip scaler.
- Powerful and light-weight.
- All steel components offer durability and long-life.
- 2200 blows per minute gives maximum performance.
- Low air consumption allows for use on small, portable compressors.
- Converts to needle or chisel scaler in seconds.
28NS120 -Needle Scalers
- Equipped with 28pcs -3mm x 7 chisel tip needles.
- 2mm Optional Needle Holders available.
- Oval front tube concentrates needles.
- Sliding oval front tube adjusts for needle wear.
Specifications
- Needle Qty: 28 x 3mm
- Weight: 8.3 lbs. (3.8 kg)
- Length: 12.4" (315mm )
- BPM: 2000
- Air Consumption: 7.5 cfm (220 lpm)
| Brand | Novatek |
|---|---|
| Hand Tool Type | Needle Scaler |
| Reach | Short |
| Blows per minute | 2200 |
| Needle Quantity | 28 |
| Air Consumption | 7.5 cfm |
| Material | Steel |
| Length | 12.4 in |
Placing Tool in Service
- Always install, operate, inspect and maintain this product in accordance with all applicable standards and regulations (local, state, country, federal, etc.).
- Compressed air models always use clean, dry air at 90 psi (6.2bar/620kPa) maximum air pressure at the inlet. Higher pressure may result in hazardous situations including excessive speed, rupture, or incorrect output torque or force.
- Electric models must always utilize proper gauge, and rated electrical cords with correct connections.
- Be sure all hoses and fittings are the correctly sized and secured.
- Ensure an accessible emergency shut off has been installed in the air or electrical supply line. Make others aware of its location.
- Do not use damaged, frayed, or deteriorated air hoses and fittings.
- Always use proper gauge electrical cords with correct connections. (When applicable.)
- Electric models must not use damaged, frayed, or deteriorated electrical cords and connections.
- Keep clear of whipping air hoses. Shut off the compressed air before approaching a whipping hose.
- Always turn off and disconnect the tool from its power supply before installing, removing or adjusting any accessory, or before performing
any maintenance on the tool. - Do not lubricate tools with flammable or volatile liquids such as kerosene, diesel or jet fuel. Use only recommended lubricants.
- Keep work area clean, uncluttered, ventilated and illuminated.
- Keep all electrical connections clear of water or other liquids. (When applicable.)
- Do not operate the machine while flammable or volatile liquids such as gasoline, diesel or jet fuel are present. Failure to do so can result in
explosion. (When applicable.) - Do not remove any labels. Replace any damaged label.
Using The Tool
- Always wear protection when operating or performing maintenance on this tool.
- Always wear hearing protection when operating this tool.
- Always use Personal Protective Equipment appropriate to the tool used and material worked. This may include dust mask or other breathing apparatus, safety glasses, ear plugs, gloves, apron, safety shoes, hard hat and other equipment,
- Prevent exposure and breathing of harmful dust
and particles created by power tool use: - Some dust created by power sanding, sawing, and grinding, drilling, and other construction activities contains chemicals known to cause cancer, birth defects or other reproductive harm. Some examples of these chemicals are:
- - Lead from lead based paints, Crystalline silica from bricks and cement and other masonry products, and Arsenic and chromium from chemically treated lumber. Your risk from these exposures varies, depending on how often you do this type of work. To reduce your exposure to these chemicals: work in a well ventilated area, and work with approved safety equipment, such as those dust masks that are specially designed to filter out microscopic particles.
- Keep others a safe distance from your work area, or ensure they use appropriate Personal Protective Equipment.
- This tool is not designed for working in explosive environments, including those caused by fumes and dust, or near flammable materials.
Read all instructions and data in operation and maintenance manual prior to operation of this equipment.
These instructions are for your protection and convenience. Please read them carefully since failure to follow the precautions could result in injury. Whenever using electric powered equipment, basic safety precautions should be followed.
Prior to use
- Place three drops of oil into the air inlet using light machine oil.
- The compressed air should be free from moisture and contamination. The installation of an air filter/dryer, pressure regulator and inline
lubricator is strongly recommended. Tools operated without these air preparation components could void the warranty. - Ensure that 3/8” bore airline is used and that all couplings are tight and in good condition.
- Limit the length of airline to 50ft. Where extra length is necessary, for each additional 50ft of airline, the pressure drop is approximately
4psi at 100 psi (0.19ar at 6.9bar).
NOTE: Correct operating pressure is 90psi (6.19ar).
Changing Needles
- Before changing or replacing needles, disconnect the air supply to the tool.
- Loosen the cap head screw on the intermediate tube and remove the tube assembly with compression spring inside.
NOTE: Models 12/19/19PG are grip threads and 28PG/35 are screw threads. - Take note of how all the parts within the intermediate tube fit together as incorrect assembly will result in damage to the tool when
used. - Remove the anvil from the needle holder and change the needles. Ensure that the small diameter of the anvil fits inside the needle
holder. - Place this cartridge into the intermediate tube, refit the tube assembly onto the body and tighten the Allen screw.
- As needles wear, the front tube must be pulled on the intermediate tube so that approximately 1” of needle length protrudes from the
front tube. To do this, loose the Allen screw, adjust the front tube and re-tighten.
Write Your Own Review